
How to Photograph Coins for Identification
Photo quality can decide whether a coin scan gives a useful result or a vague guess. The identification system needs visible letters, numbers, symbols, portraits, rim details, and metal appearance. If the photo is dark, blurry, tilted, overexposed, or cropped too tightly, important clues may disappear.
You do not need a professional camera. A modern phone is enough if you use good light, a plain background, stable focus, and a straight angle. This guide explains how to photograph coins so an online coin identifier has the best possible evidence.
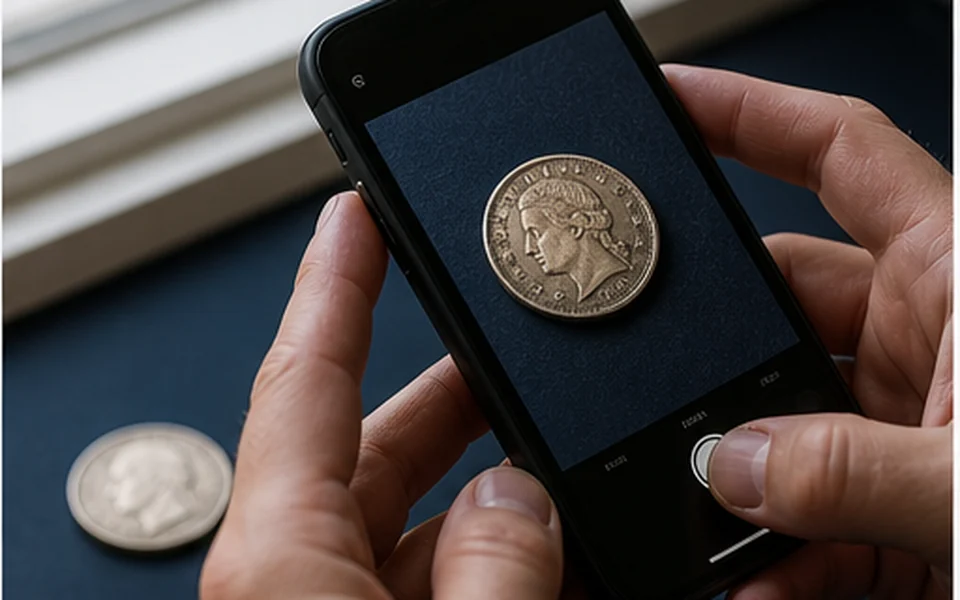
Use a flat matte background, diffuse side light, and a straight camera angle. Photograph both sides with the full rim visible, then add close-ups only for details that need inspection.
Ten ways to make coin photos easier to read
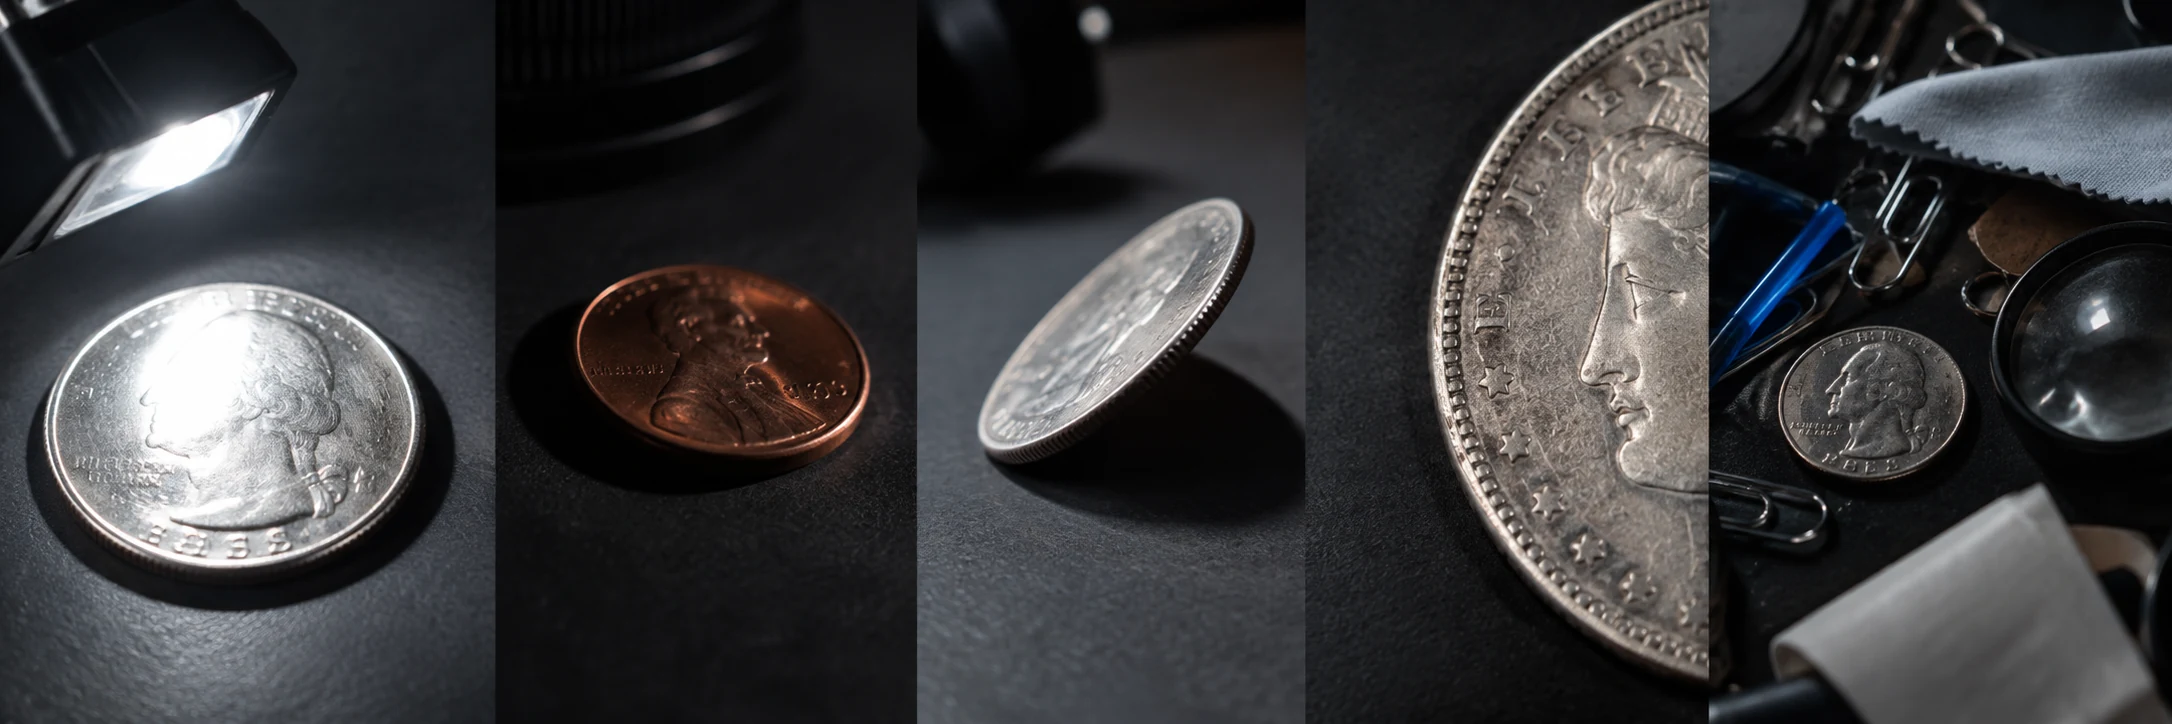
Use these examples as a visual checklist: control the light, keep the whole coin in frame, and add close-ups only when a small detail needs inspection.
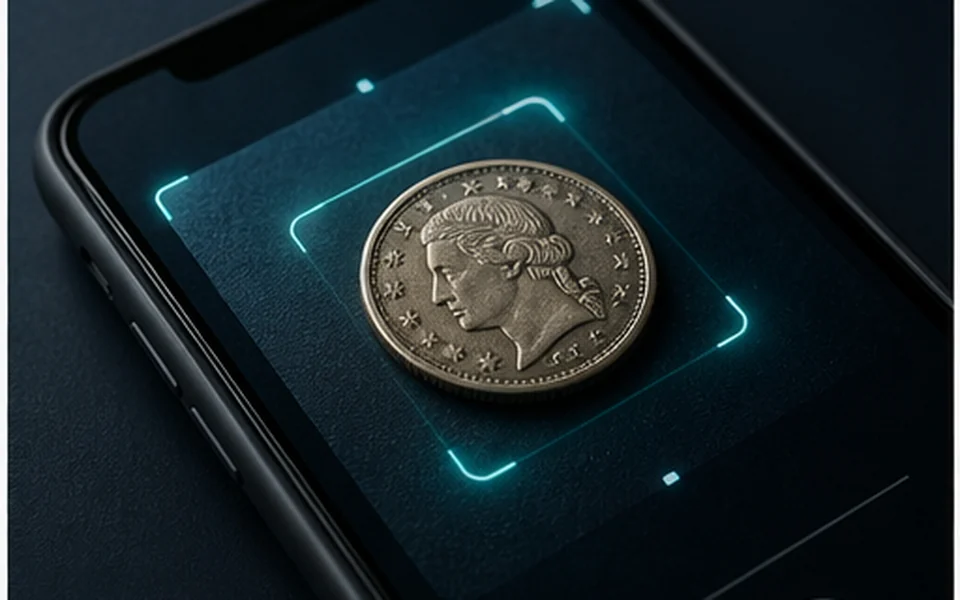
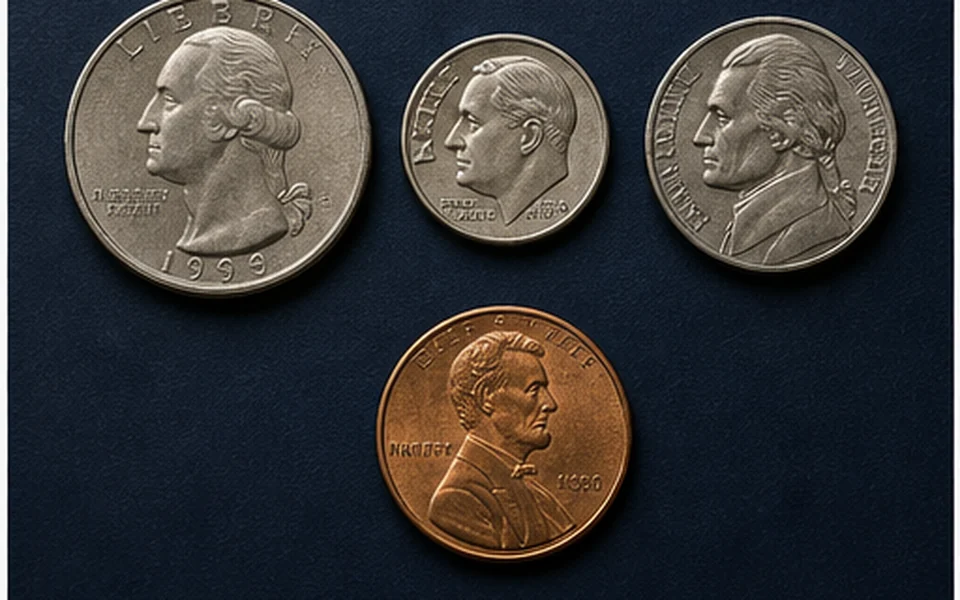
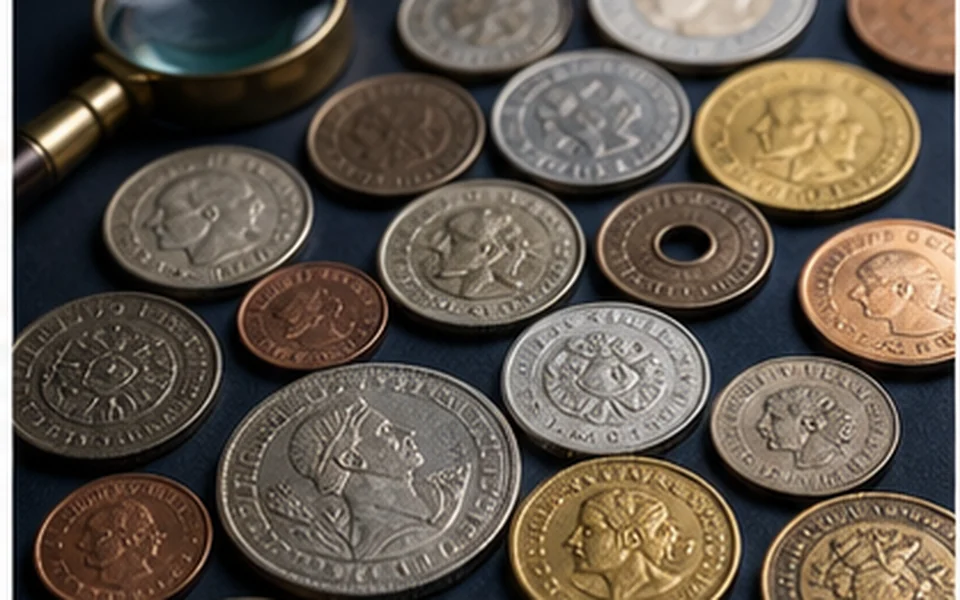
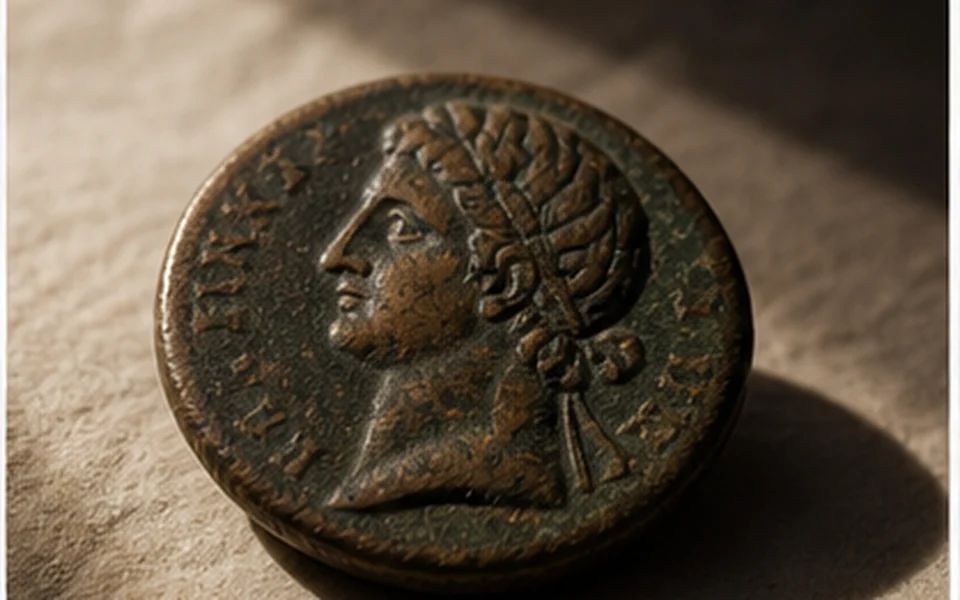
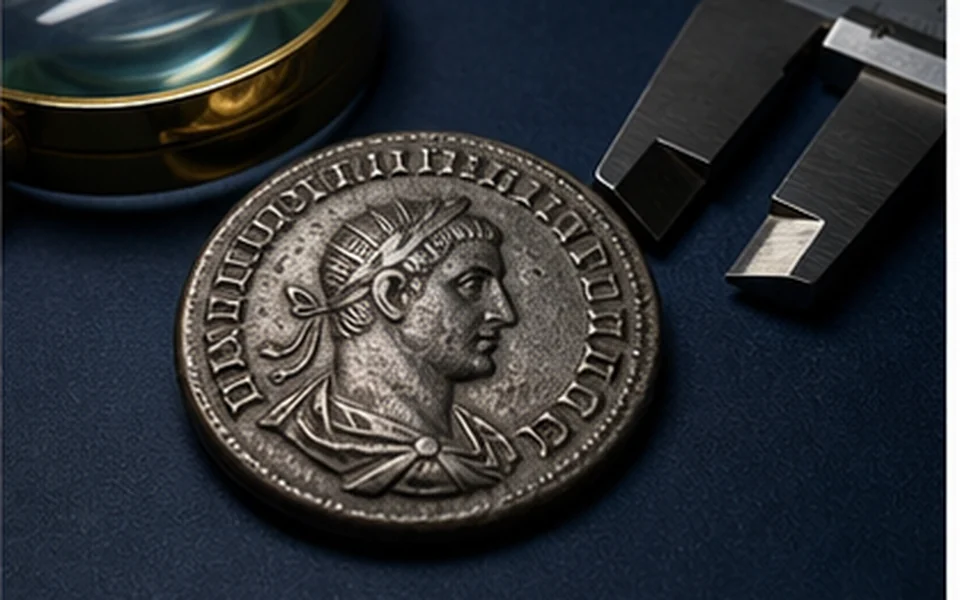
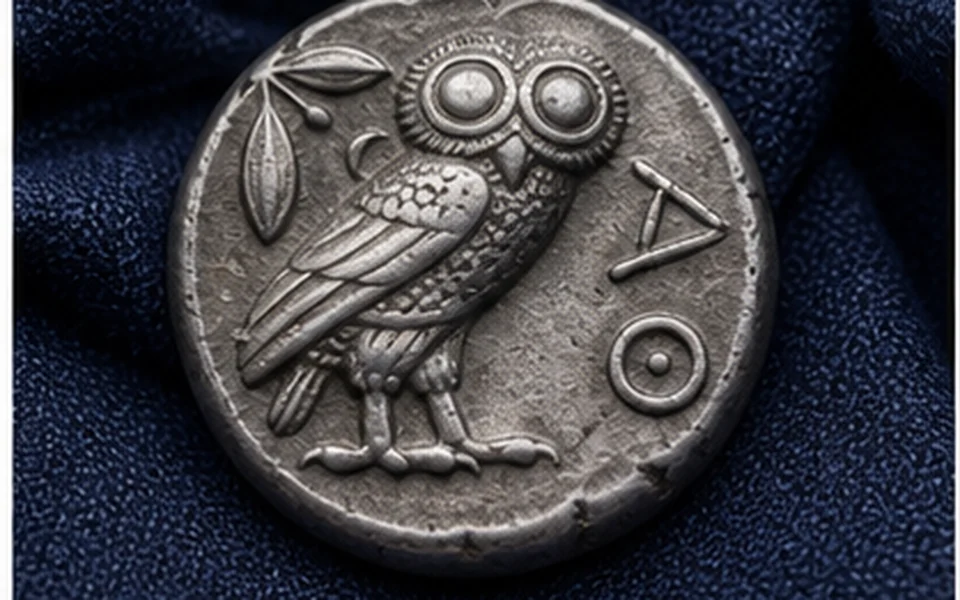
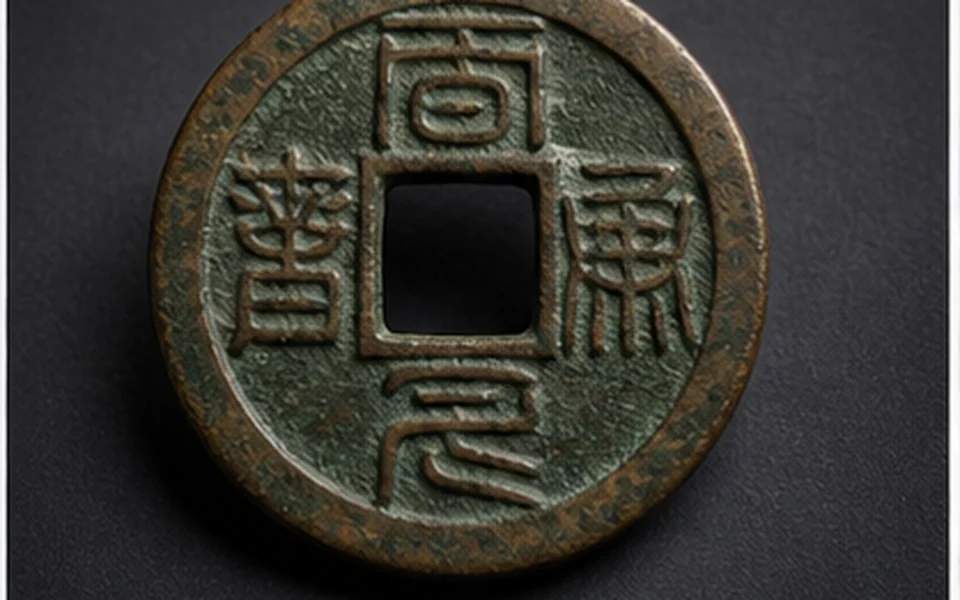
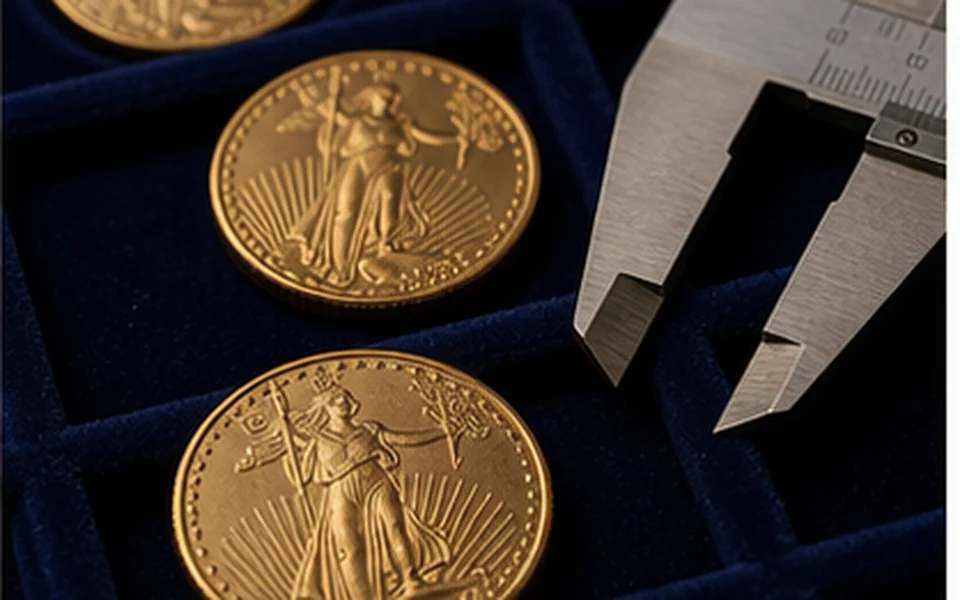
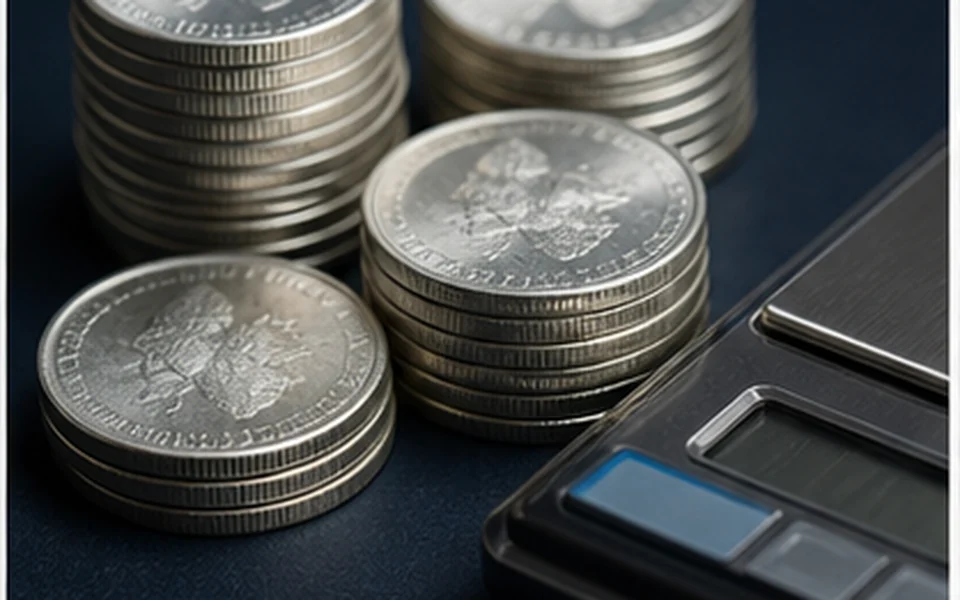
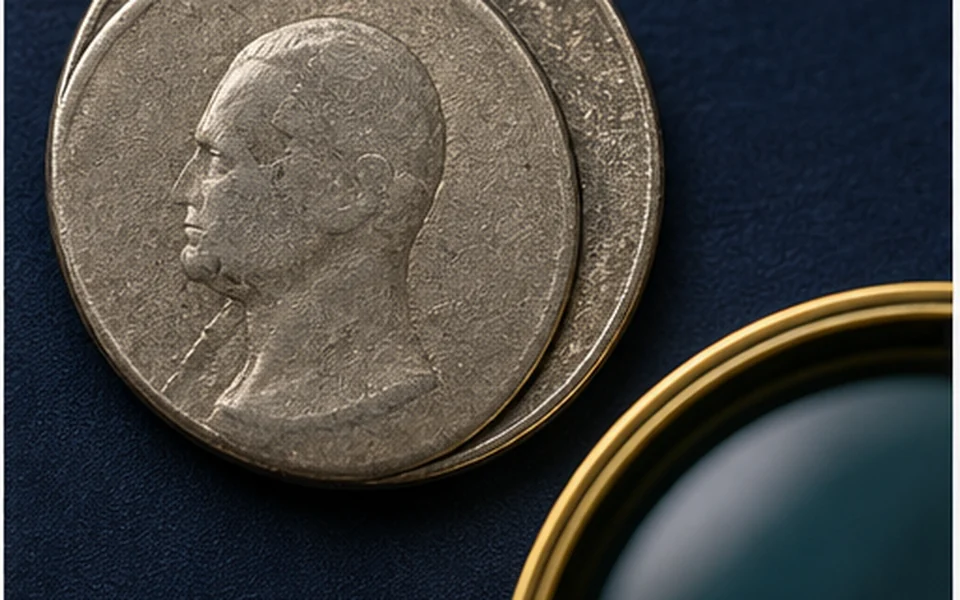
These images are illustrative examples for the photography workflow. They are not live scan results, authenticated specimens, or value claims.
Worked example: photographing a shiny quarter
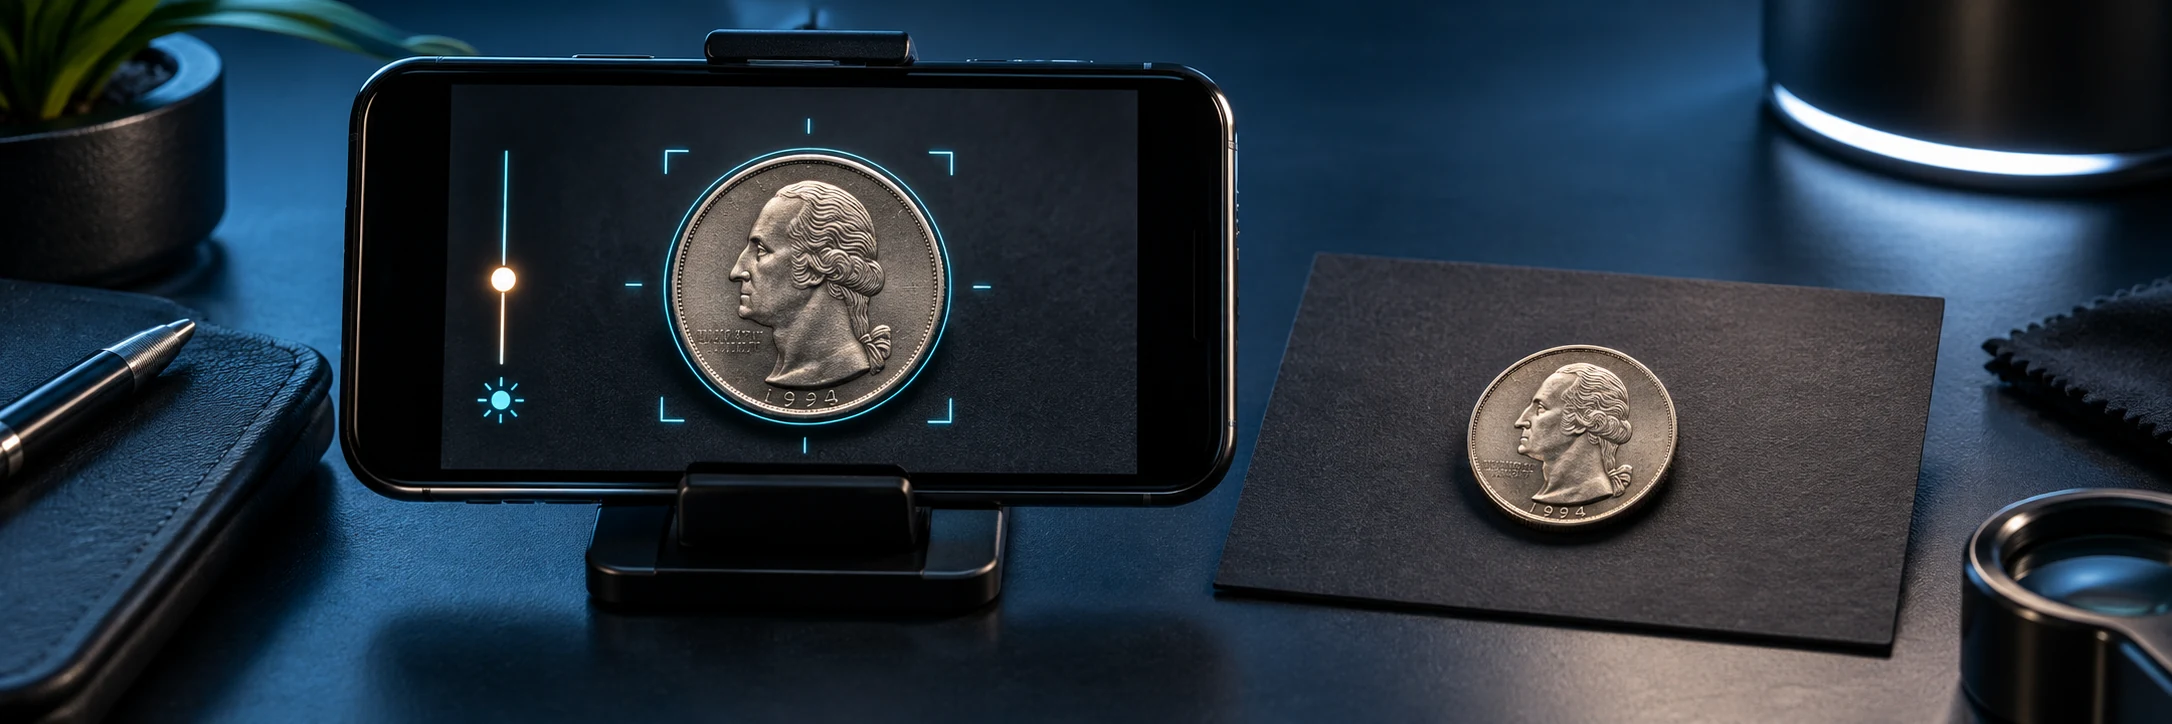
Place the quarter on a matte background, move the light to the side, and take straight-on photos of both sides. Keep the full rim visible and take a separate close-up only for a date or mint mark that needs inspection.

Use soft light instead of flash
Natural daylight near a window is usually better than direct flash. Flash can create bright glare on silver, copper-nickel, gold, and proof-like surfaces. Glare hides inscriptions and makes metal color unreliable. If the coin is dark bronze or has low relief, soft side light can help reveal raised details without washing out the design.
Avoid placing the coin under one harsh lamp unless you can control reflections. If you see a white hotspot covering the date or portrait, move the light, move the phone, or rotate the coin slightly until the details are visible.

Keep the coin flat and centered
Place the coin on a simple background such as white paper, dark matte paper, or a neutral desk surface. The background should not have patterns, text, or other coins touching the subject. Keep the camera directly above the coin so the circle stays round rather than oval. A steep angle can distort the shape and make the edge hard to compare.
Leave a small margin around the full rim. Do not crop away the edge because mint marks, lettering, shape, and damage near the rim can matter. For very small coins, move closer but keep focus sharp.
| Photo habit | Better choice |
|---|---|
| Flash glare | Soft daylight or diffused lamp |
| Busy background | Plain matte surface |
| Angled photo | Camera straight above the coin |
| One side only | Separate photos of both sides |
| Cropped rim | Full coin visible with small margin |
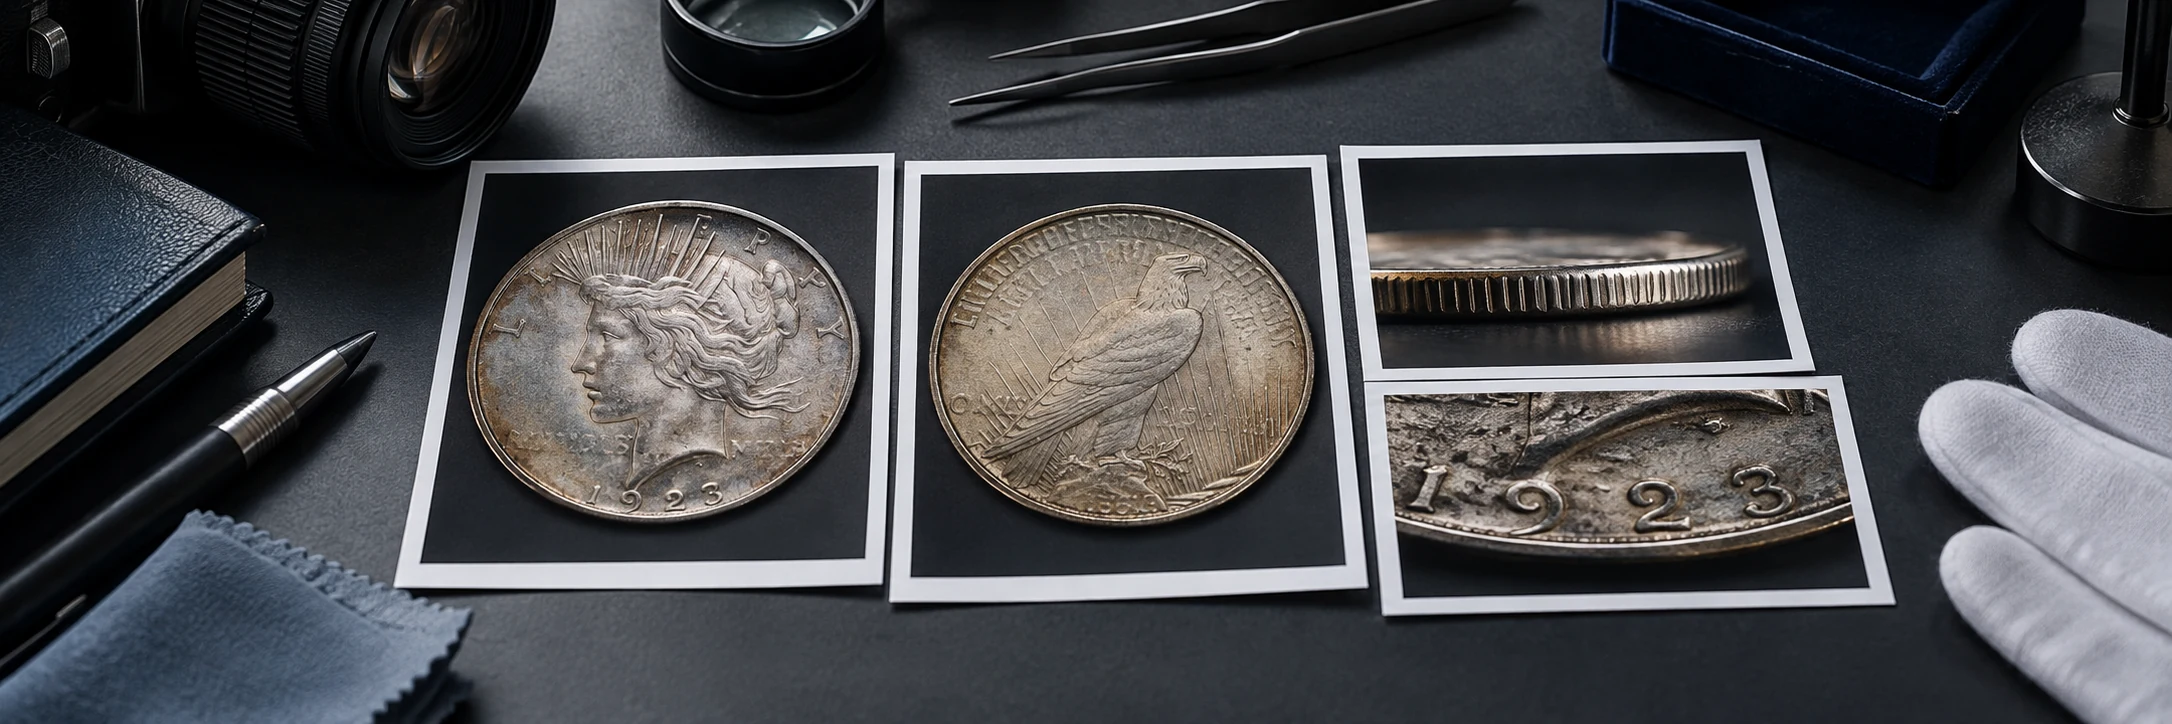
Capture both sides and special details
For most coins, take one photo of the front and one photo of the back. If the edge has lettering, take an additional close photo of the edge. If a mint mark or date is tiny, take a second close-up after the full coin photo. The full coin gives context, while the close-up helps with small details.
Do not hold the coin with fingers covering the rim. If you must hold it, touch only the edge and keep your fingers away from letters and dates. For valuable coins, avoid unnecessary handling and do not rub the surface.
Common photo mistakes
The most common mistakes are blur, glare, shadows, extreme zoom, heavy filters, screenshots of other websites, and photos where the coin occupies only a tiny part of the frame. Screenshots can be useful for testing design, but they are not ideal for real coin identification because the system may analyze the page layout instead of the object.
If your first scan is weak, retake the photo rather than trusting the result. A clearer image can change the identification, confidence, and estimated value range dramatically.
Phone camera settings that help
Most phone cameras work well when you tap the coin to lock focus before taking the picture. If the camera keeps focusing on the background, move the phone slightly farther away and crop less. Use the normal camera mode rather than portrait mode because artificial blur can hide the rim and edge.
If your phone offers exposure control, lower exposure a little on shiny silver coins to keep the date and lettering visible. Take two or three photos and choose the sharpest one. A clean image with modest resolution is better than a huge blurry image.
For very reflective coins, move the light source rather than moving the coin into a strange angle. The design should remain easy to compare with reference images.

FAQ
What background is best for coin photos?
A plain matte background is best. Use white, gray, black, or another simple surface that contrasts with the coin.
Should I upload a screenshot or a real photo?
Use a real photo whenever possible. Screenshots may include interface elements and can confuse image recognition.
Sources and further reading
Use these catalog and reference sites to compare the identification, specifications, and market context. They are reference points, not guarantees of a sale price.